
Restoration progress of mk3 hornet
4 posters
Page 1 of 1

Restoration progress of mk3 hornet
![]() mac Mon Oct 26, 2009 12:06 am
mac Mon Oct 26, 2009 12:06 am
Hi Folks
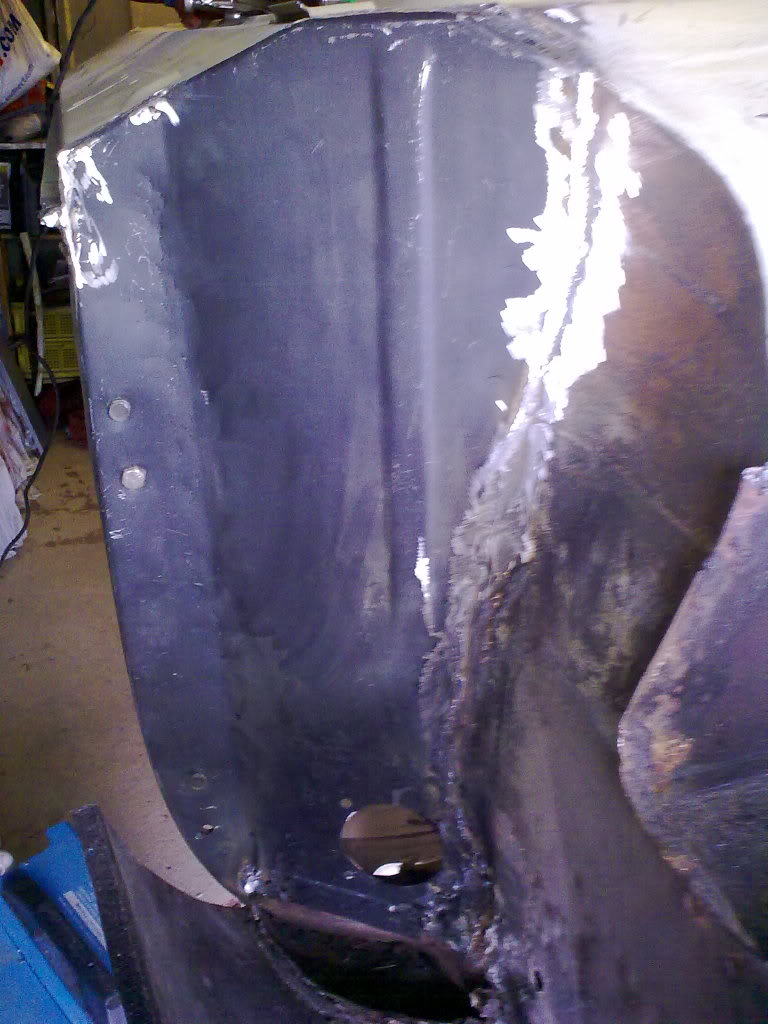
Been busy over the past few weeks, working mainly on the o/s floor, o/s rear wheel arch and boot floor areas, excessive corrosion evident but begining to see progress,i will keep posting pics.
cheers for now John
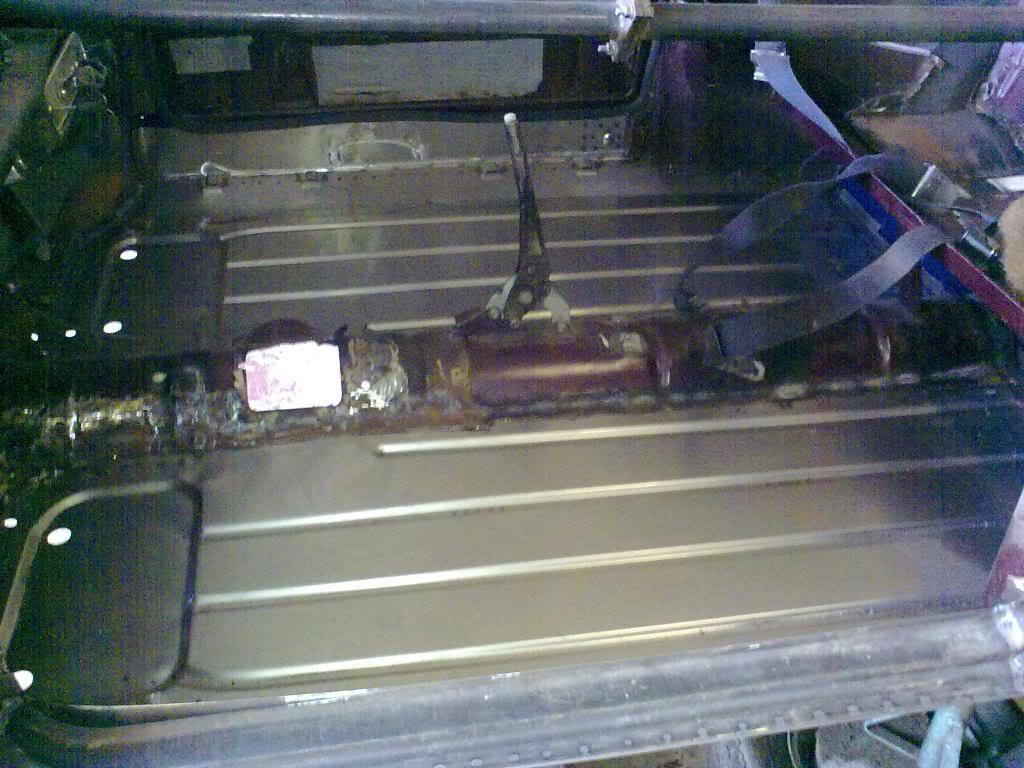
o/s floor removed
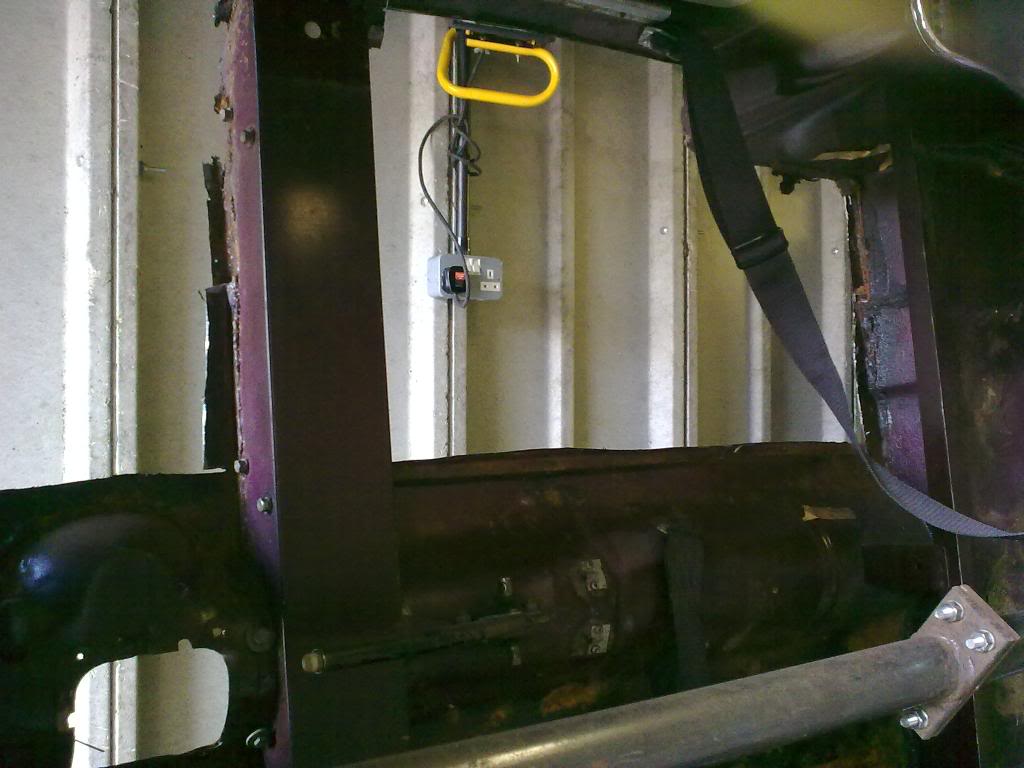
new complete o/s floor and front lower wheel arch

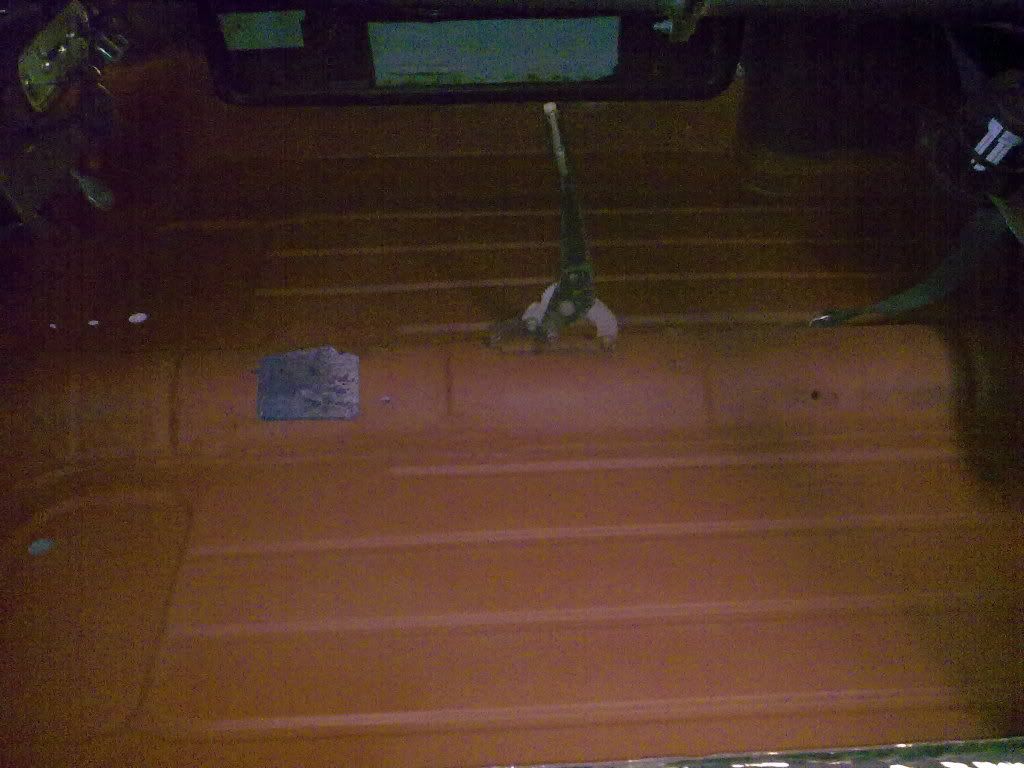
o/s boot floor area
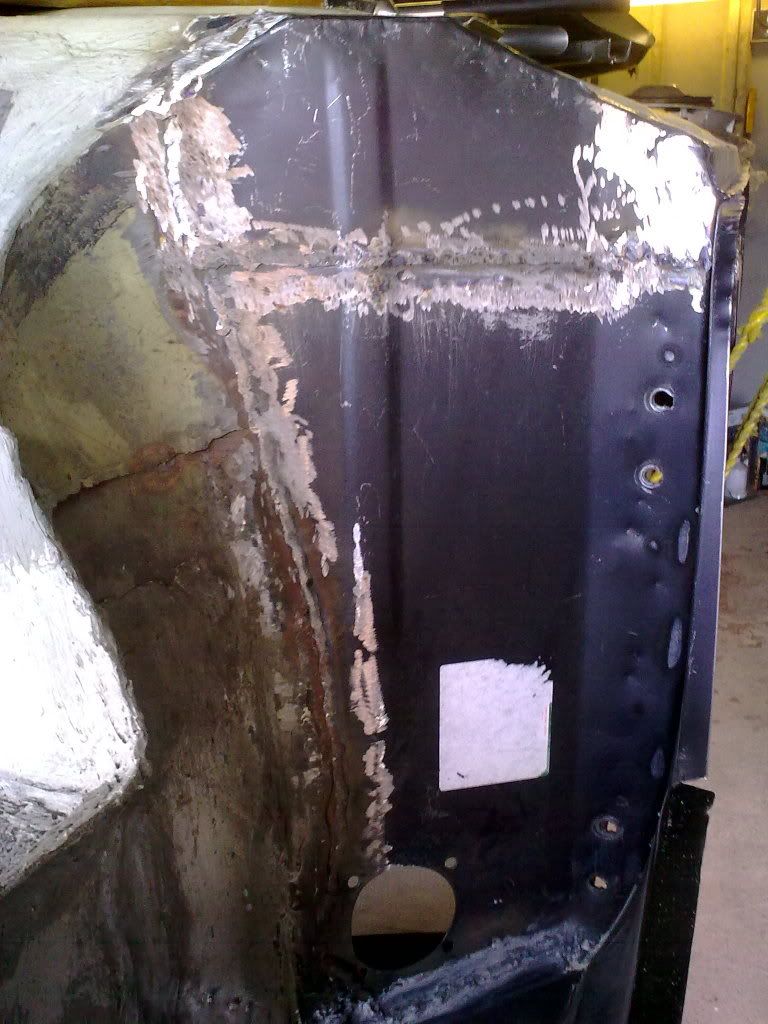
fitment of o/s rear floor repair panel and inner wheel arch removed
fitment of o/s/r inner wheel arch

Been busy over the past few weeks, working mainly on the o/s floor, o/s rear wheel arch and boot floor areas, excessive corrosion evident but begining to see progress,i will keep posting pics.
cheers for now John
o/s floor removed
new complete o/s floor and front lower wheel arch
o/s boot floor area
fitment of o/s rear floor repair panel and inner wheel arch removed
fitment of o/s/r inner wheel arch

mac- Posts : 102
Points : 5453
Join date : 2009-09-23
Location : Darlington
Re: Restoration progress of mk3 hornet
![]() Big_Al_Smith Tue Oct 27, 2009 9:07 pm
Big_Al_Smith Tue Oct 27, 2009 9:07 pm
keep at it - it gets easier - i know with rusty for the first year or so for every hole i filled i found 2 more! 
looking good....
looking good....

Big_Al_Smith- Posts : 1226
Points : 6887
Join date : 2008-11-02
Age : 58
Location : Chislehurst - -

mk3 hornet restoration
![]() mac Tue Oct 27, 2009 9:23 pm
mac Tue Oct 27, 2009 9:23 pm
Thanks big Al.
Been tackling boot floor again today and yep you correct you always seem to find more holes/rust ha ha
ha ha
Been tackling boot floor again today and yep you correct you always seem to find more holes/rust
ha ha
mac- Posts : 102
Points : 5453
Join date : 2009-09-23
Location : Darlington
Re: Restoration progress of mk3 hornet
![]() TONYELF Tue Oct 27, 2009 11:43 pm
TONYELF Tue Oct 27, 2009 11:43 pm
Big_Al_Smith wrote:keep at it - it gets easier - i know with rusty for the first year or so for every hole i filled i found 2 more!
looking good....
Thanks Al, that really fills me with enthusiasm I have a whole floor to replace on Myvanwy!

TONYELF- Admin
- Posts : 1743
Points : 7458
Join date : 2008-11-21
Location : Chester UK
Re: Restoration progress of mk3 hornet
![]() mac Wed Dec 02, 2009 11:59 pm
mac Wed Dec 02, 2009 11:59 pm
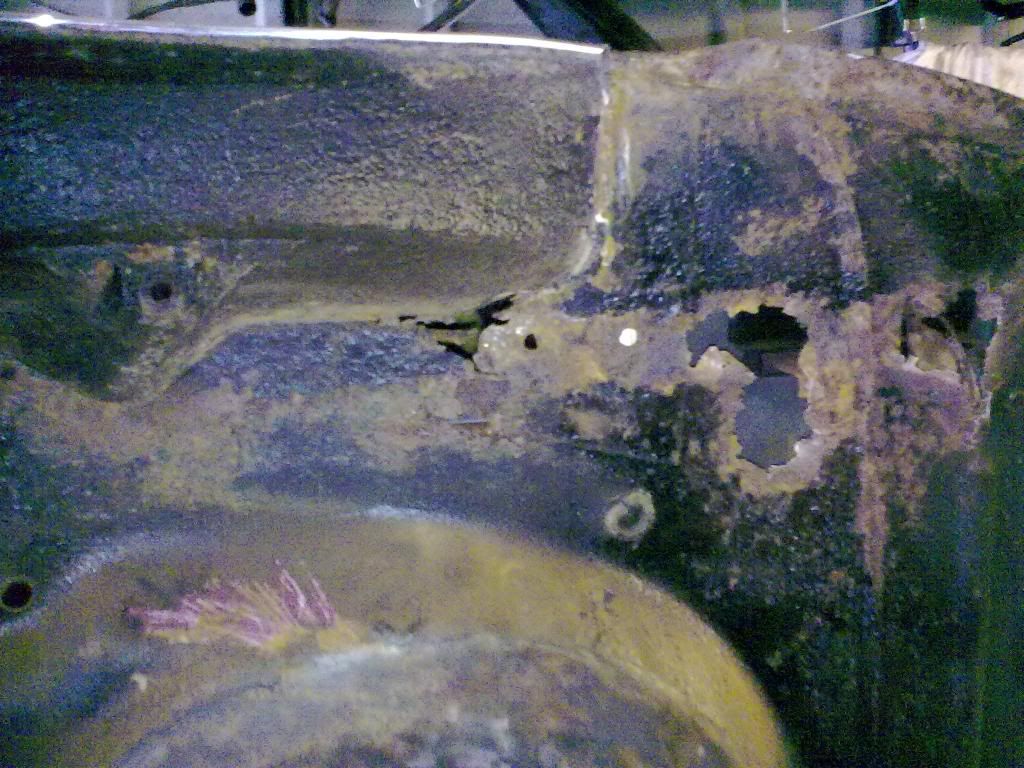
Hi again folks, been keepin myself busy lately, workin on the boot floor area and floor sections. Im sure everyone been at this point in resto but just when you think you gettin somewhere another hole raises its ugly head 
Im sure this car will weigh less when finished as i have never seen so many patches, its amazing what underseal and filler can hide, been describeing it as a rust sandwhich (thick cut bodge with a rust filling) think i've spent as much time sweepin up debris even the poor old bin men struggle to pick up waste sacks now, may just have to give them a christmas tipple he he.
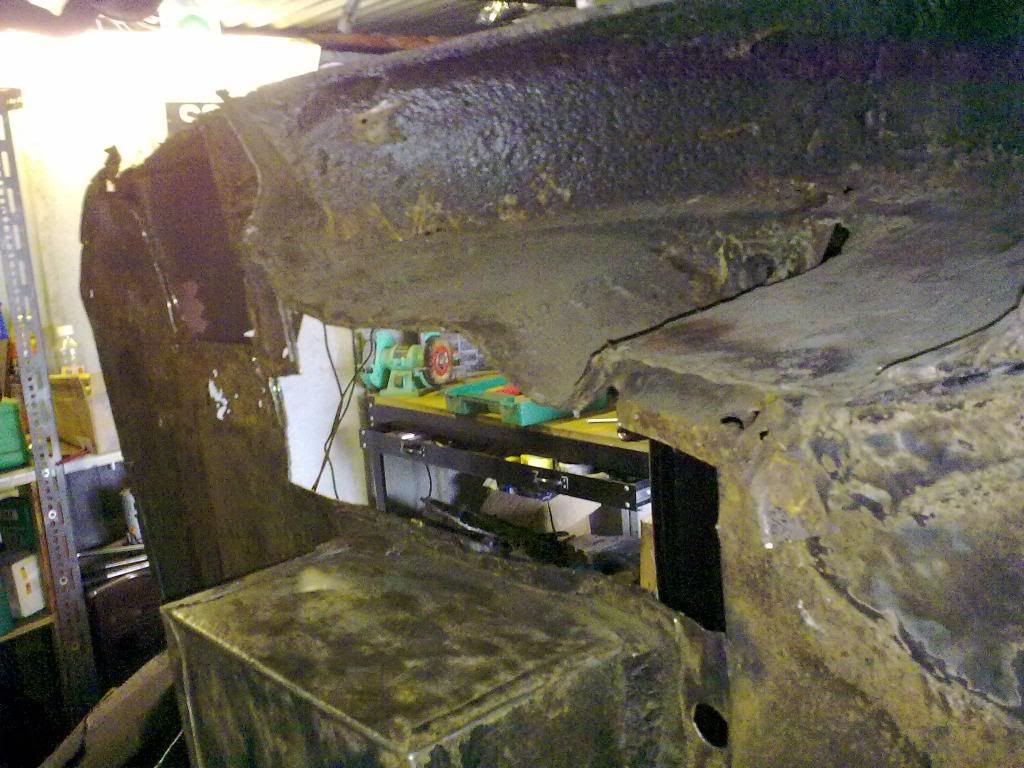
n/s floor section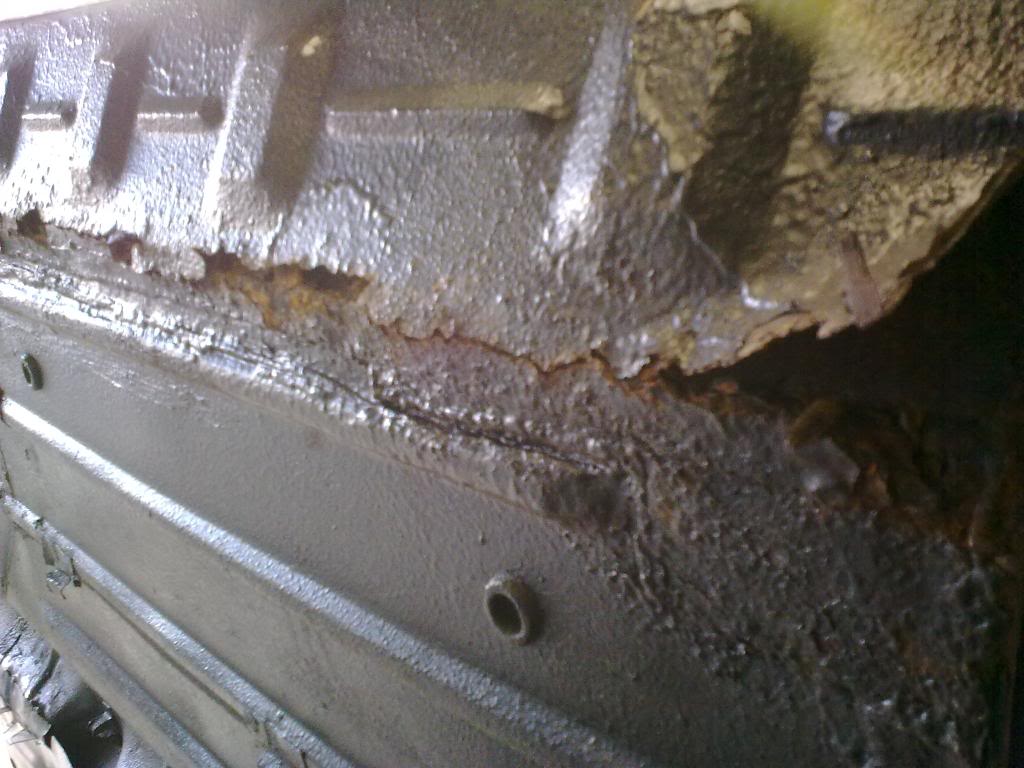
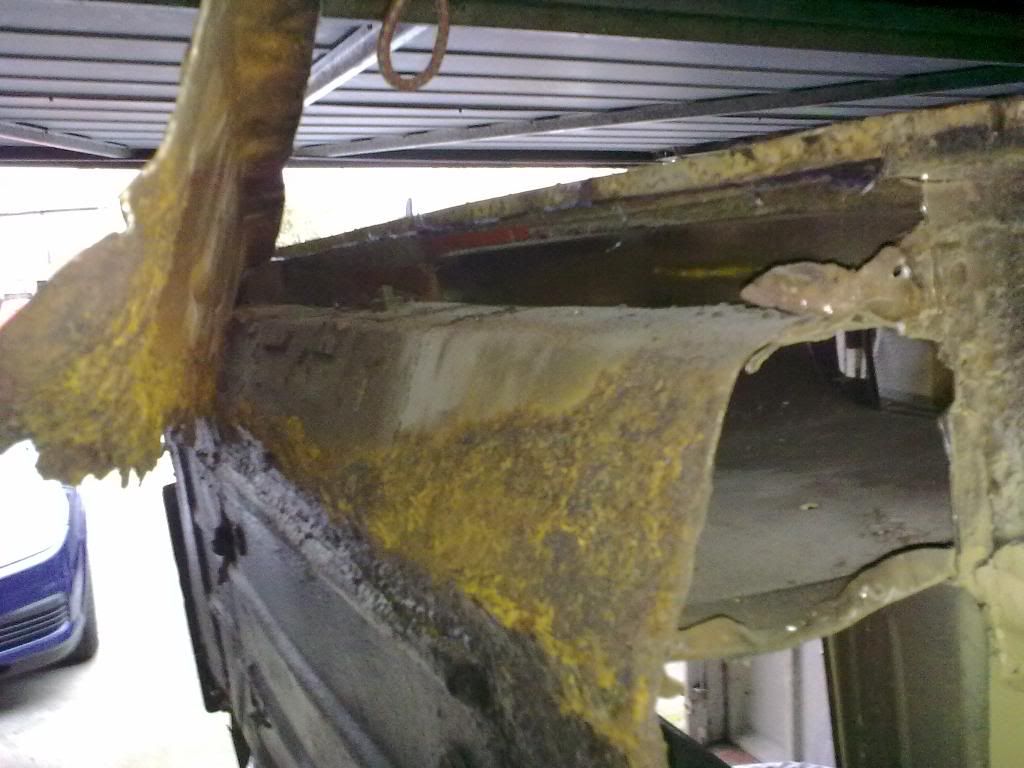
n/s boot floor section
n/s floor section removed

n/s new floor section
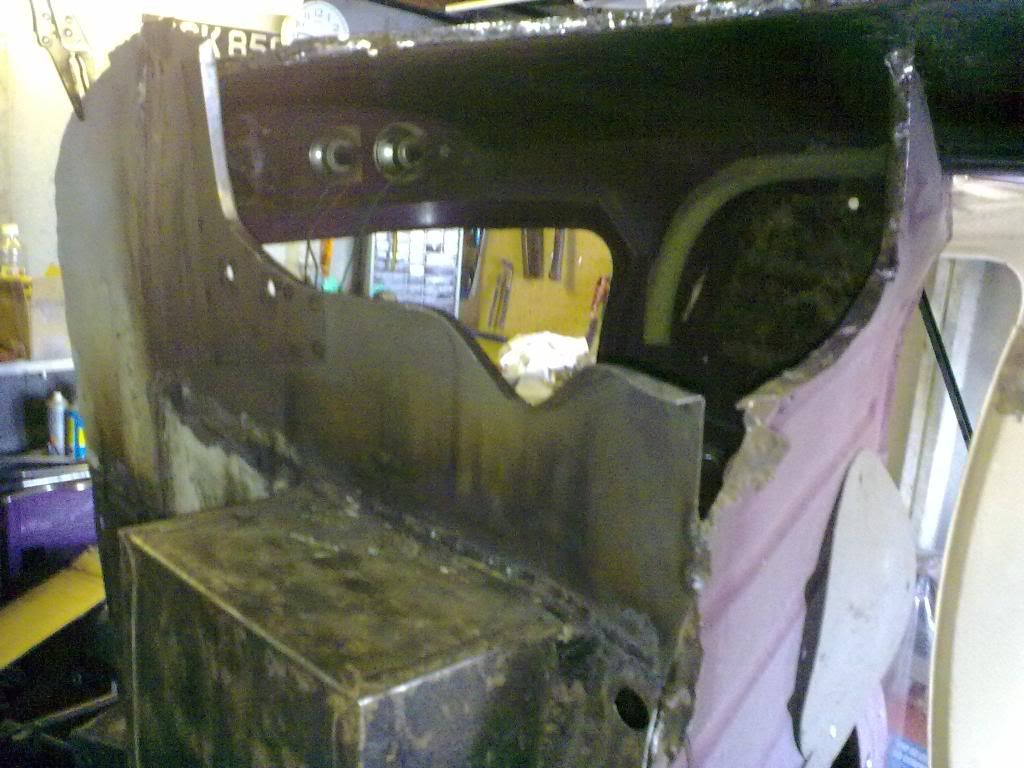
boot floor area repaired and primer applied
new floor in place very happy moment of resto

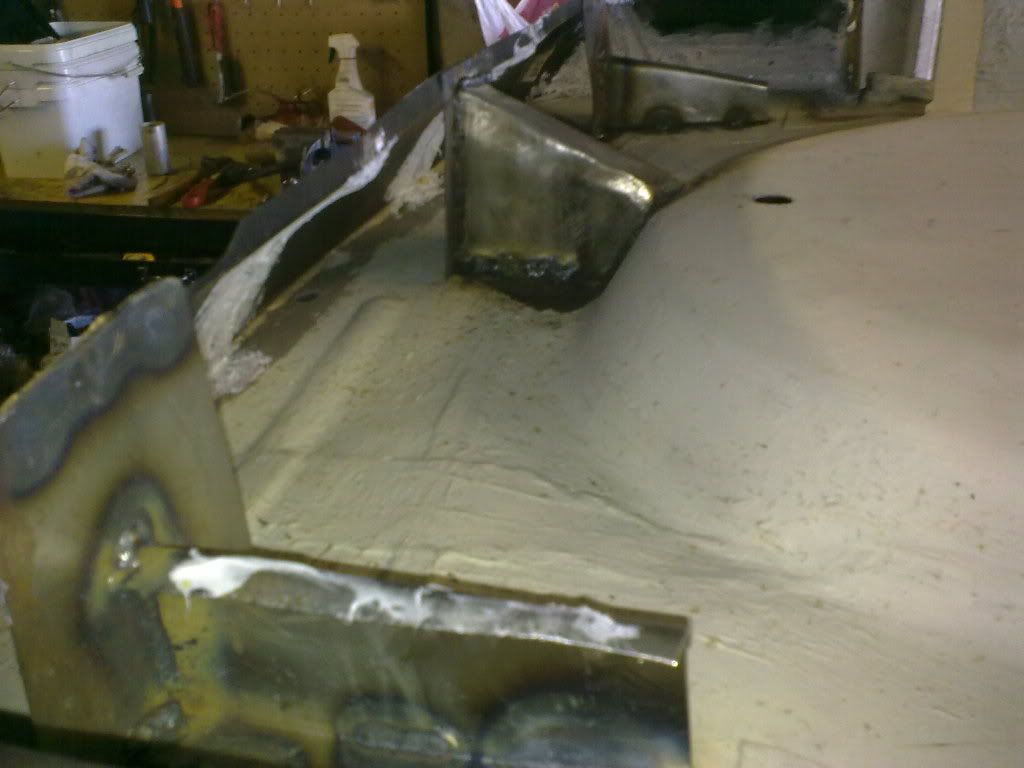
just requires welding inside now
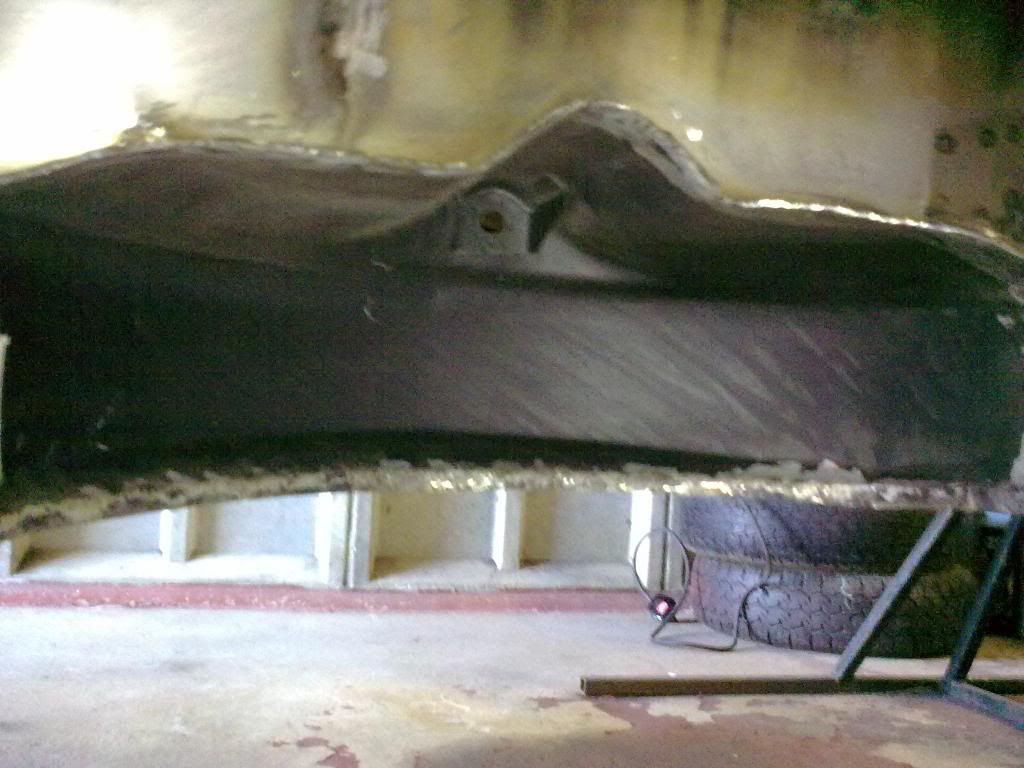
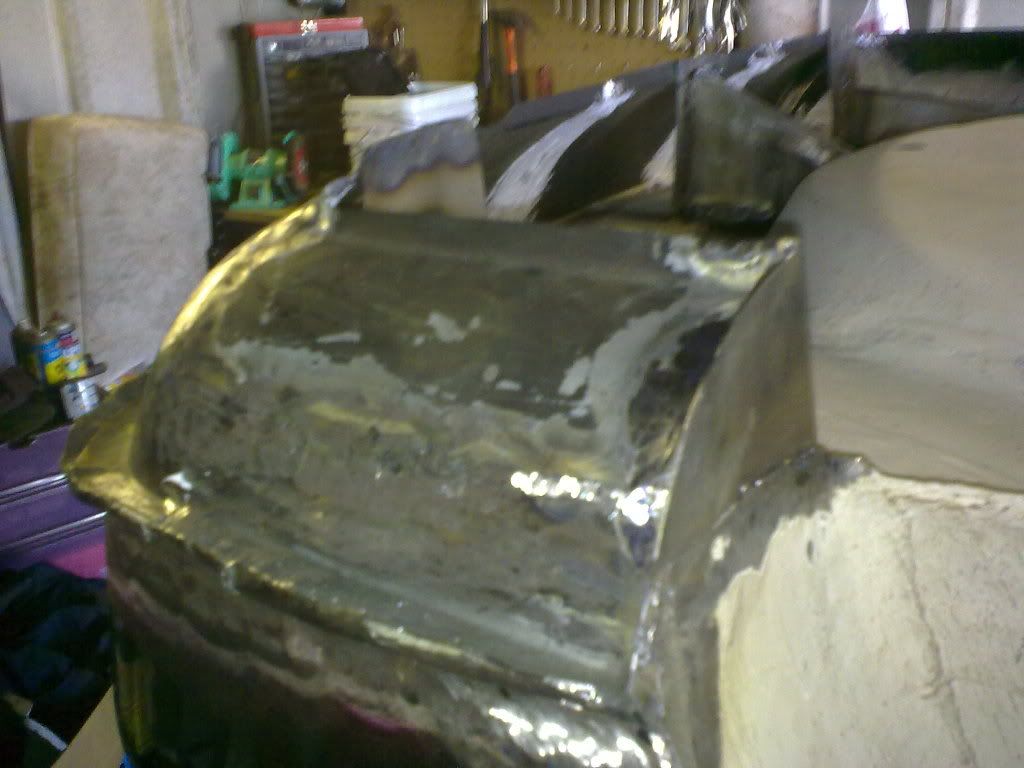
early stage of my attempt in makeing a rear valence from a mini rear valence (crude but with a bit more work think i could crack it) new subframe x-member can also be seen on this pic.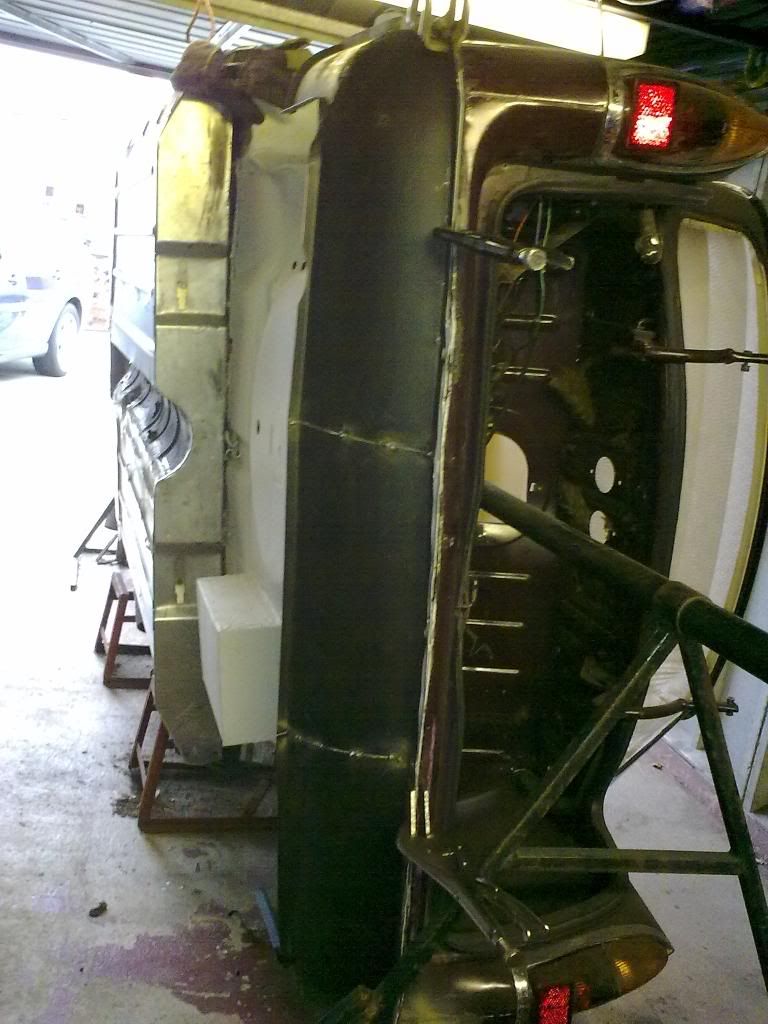
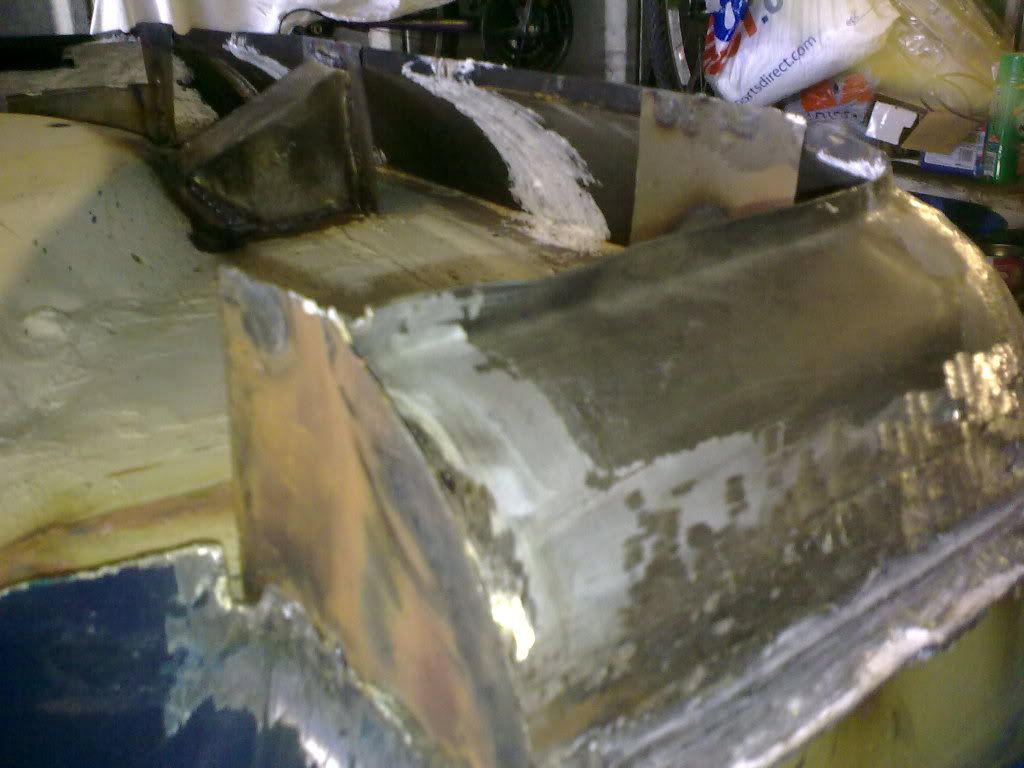
mini travellor rear side valence good length but depth requires attention
Will post more pics and info soon
Best wishes for christmas and 2010
John
Im sure this car will weigh less when finished as i have never seen so many patches, its amazing what underseal and filler can hide, been describeing it as a rust sandwhich (thick cut bodge with a rust filling) think i've spent as much time sweepin up debris even the poor old bin men struggle to pick up waste sacks now, may just have to give them a christmas tipple he he.
n/s floor section
n/s boot floor section
n/s floor section removed
n/s new floor section
boot floor area repaired and primer applied
new floor in place
just requires welding inside now
early stage of my attempt in makeing a rear valence from a mini rear valence (crude but with a bit more work think i could crack it) new subframe x-member can also be seen on this pic.
mini travellor rear side valence good length but depth requires attention
Will post more pics and info soon
Best wishes for christmas and 2010
John
mac- Posts : 102
Points : 5453
Join date : 2009-09-23
Location : Darlington
Re: Restoration progress of mk3 hornet
![]() TONYELF Thu Dec 03, 2009 1:48 pm
TONYELF Thu Dec 03, 2009 1:48 pm
It's looking OK so far, a typical Sunday car (holey) 
Good luck on the rest of it!
Good luck on the rest of it!
TONYELF- Admin
- Posts : 1743
Points : 7458
Join date : 2008-11-21
Location : Chester UK
Re: Restoration progress of mk3 hornet
![]() mac Sun Jun 13, 2010 11:47 pm
mac Sun Jun 13, 2010 11:47 pm
Hi Folks been a while since i posted any pics for you so here goes,
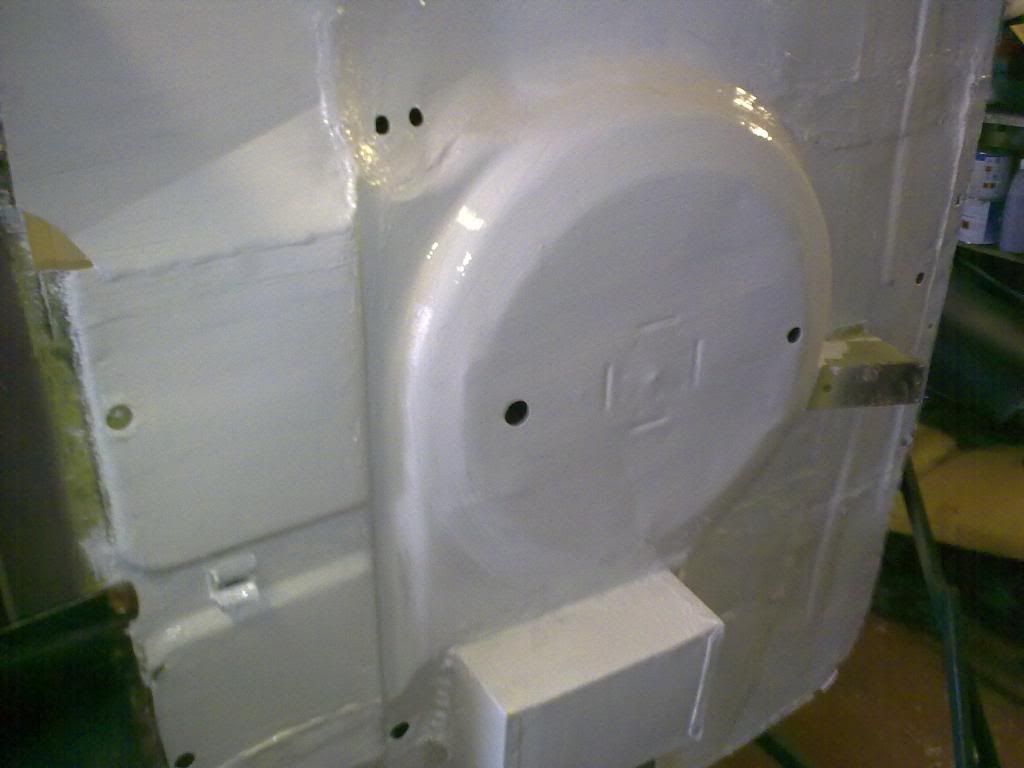
progress on rear valence (made from mini valence and traveller side extentions with strips let in to obtain depth) still not sure how good it will turn out but for approx £15 it gotta be worth a go

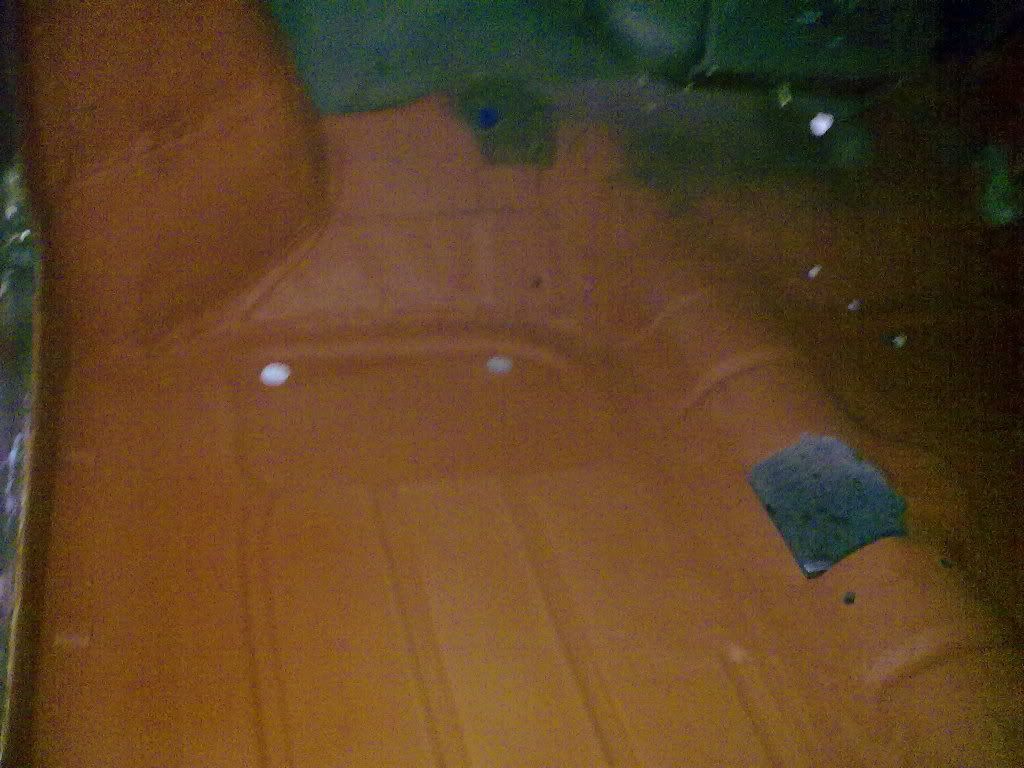
Floor in primer

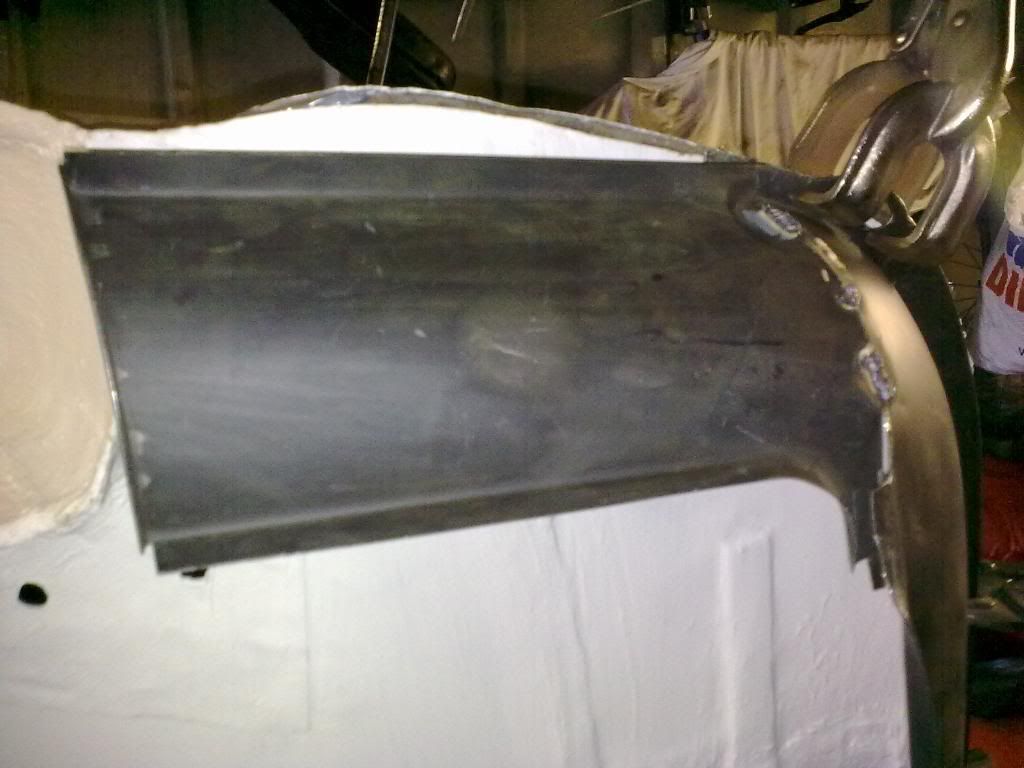
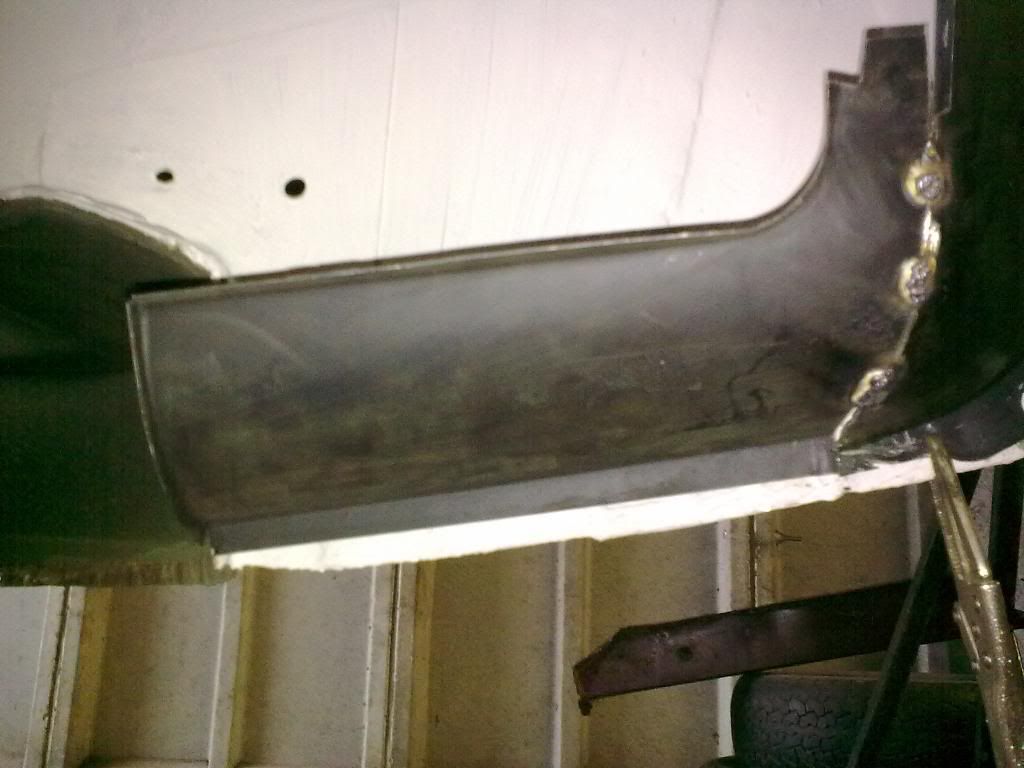
Rusted front panel cut away then replacement let in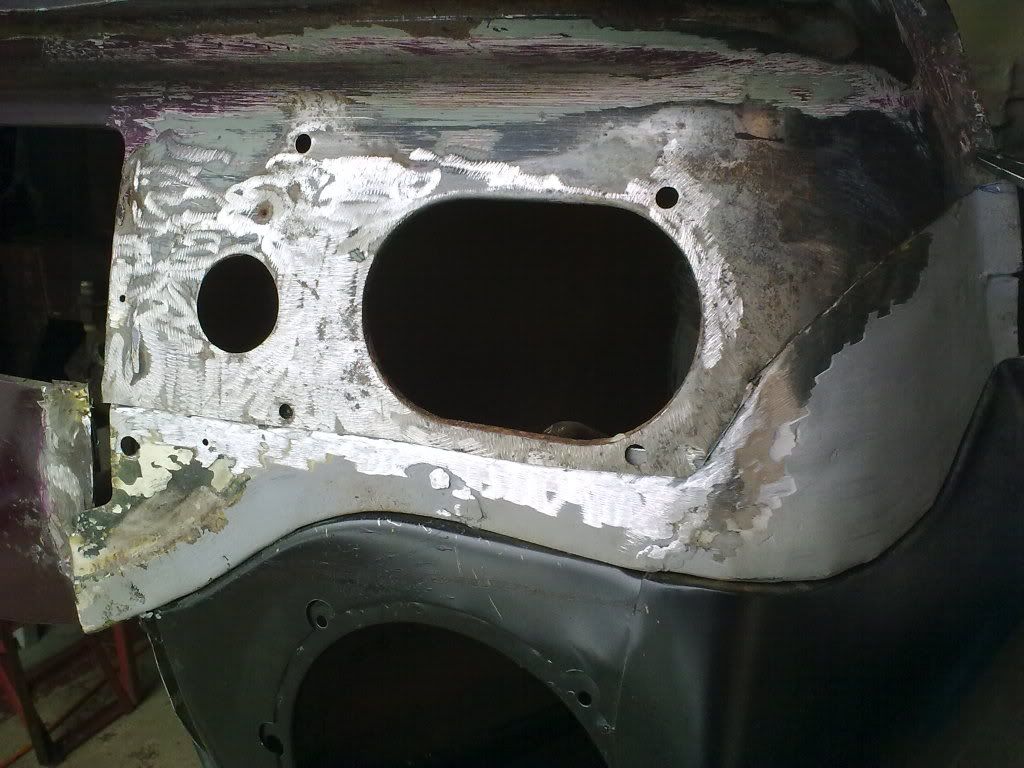
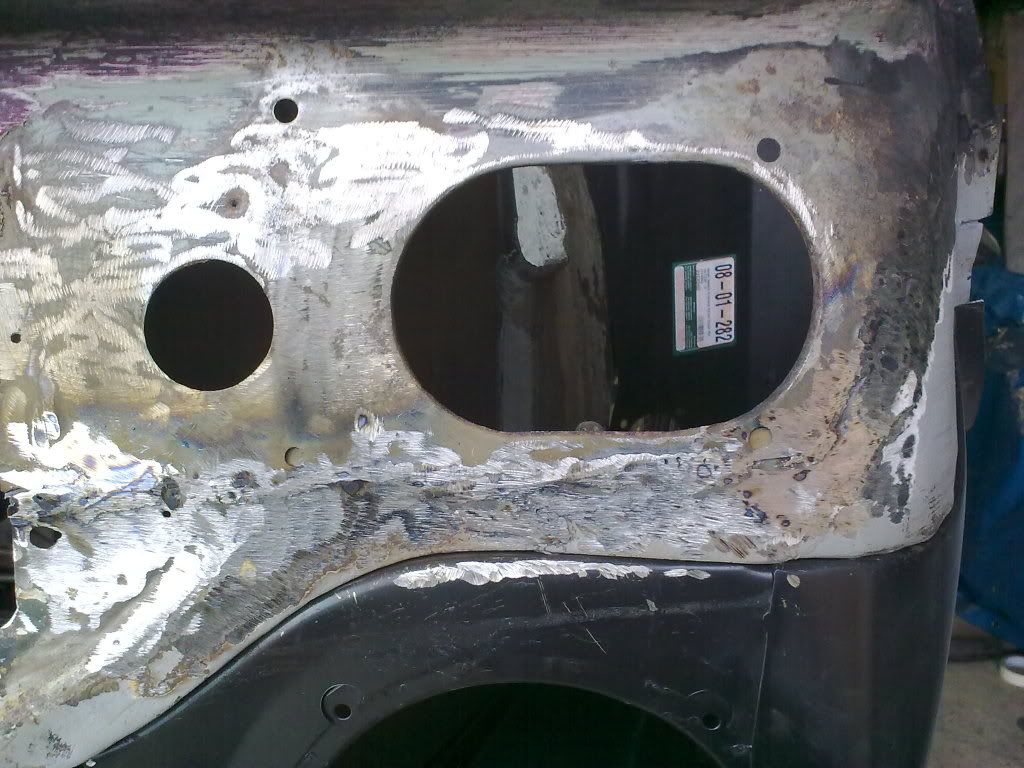
Front flitch panels replaced
Thanks for lookin more to follow. keep your pics and comments coming to it helps inspire when you think you fighting a lost cause he he.
progress on rear valence (made from mini valence and traveller side extentions with strips let in to obtain depth) still not sure how good it will turn out but for approx £15 it gotta be worth a go
Floor in primer
Rusted front panel cut away then replacement let in
Front flitch panels replaced
Thanks for lookin more to follow. keep your pics and comments coming to it helps inspire when you think you fighting a lost cause he he.
mac- Posts : 102
Points : 5453
Join date : 2009-09-23
Location : Darlington
Re: Restoration progress of mk3 hornet
![]() asahartz Mon Jun 14, 2010 8:29 pm
asahartz Mon Jun 14, 2010 8:29 pm
Some nice welding there. There's a better way to make the valance from two Mini valances, but you've done it now and it should look OK - they're not that visible with a bumper fitted.

asahartz- Posts : 415
Points : 5952
Join date : 2009-03-03
Age : 62
Location : Mansfield, Notts
Re: Restoration progress of mk3 hornet
![]() TONYELF Mon Jun 14, 2010 10:29 pm
TONYELF Mon Jun 14, 2010 10:29 pm
Looking great and agree some nice tidy welding. I notice you replaced the floor in two sections. Sometimes I wished I had decided to do my van the same but the seat cross member was too rotten as well so went for the whole hog.
I'm trying to figure out why you have red leaded the floor before welding the seat cross member rather than weld the member first then red lead?
I'm trying to figure out why you have red leaded the floor before welding the seat cross member rather than weld the member first then red lead?
TONYELF- Admin
- Posts : 1743
Points : 7458
Join date : 2008-11-21
Location : Chester UK
Re: Restoration progress of mk3 hornet
![]() mac Tue Jun 15, 2010 9:38 pm
mac Tue Jun 15, 2010 9:38 pm
Seat crossmember still to go in, think it was one of those moments where i was tired of all the welding and just wanted to see how it would look with paint on .
Thanks for your comments guys
John
Thanks for your comments guys
John
mac- Posts : 102
Points : 5453
Join date : 2009-09-23
Location : Darlington
Re: Restoration progress of mk3 hornet
![]() TONYELF Wed Jun 16, 2010 12:46 am
TONYELF Wed Jun 16, 2010 12:46 am
I know where you're coming from "tired of all the welding" ! ( not to mention all the cutting and grinding ready for it)
It does get tiring and it is nice to get some paint on to "tidy" it up and it gives you an uplift as well. ( a bit like the light at the end of the tunnel!)
It does get tiring and it is nice to get some paint on to "tidy" it up and it gives you an uplift as well. ( a bit like the light at the end of the tunnel!)
TONYELF- Admin
- Posts : 1743
Points : 7458
Join date : 2008-11-21
Location : Chester UK
Re: Restoration progress of mk3 hornet
![]() mac Wed Jun 16, 2010 9:52 am
mac Wed Jun 16, 2010 9:52 am
Not sure about a light at the end of the tunnel yet but purhaps a glimmer
mac- Posts : 102
Points : 5453
Join date : 2009-09-23
Location : Darlington
Re: Restoration progress of mk3 hornet
![]() Guest Wed Jun 16, 2010 10:33 am
Guest Wed Jun 16, 2010 10:33 am
Looking good!
Maybe like me, the light at the end of the tunnel is some sod bringing you more work!!
Maybe like me, the light at the end of the tunnel is some sod bringing you more work!!
Guest- Guest
Re: Restoration progress of mk3 hornet
![]() mac Wed Jun 16, 2010 10:12 pm
mac Wed Jun 16, 2010 10:12 pm
mac- Posts : 102
Points : 5453
Join date : 2009-09-23
Location : Darlington
» EBBY HORNET
» Winnie Hornet Restoration
» 303 JCY - 1964 Mk2 Hornet Restoration on Youtube
» Hornet restoration project in dorset
» Rupert's Restoration.....
» Winnie Hornet Restoration
» 303 JCY - 1964 Mk2 Hornet Restoration on Youtube
» Hornet restoration project in dorset
» Rupert's Restoration.....
Page 1 of 1
Permissions in this forum:
You cannot reply to topics in this forum|
|
|